Mastering Campground Check-In and Check-Out Processes for a Seamless Stay
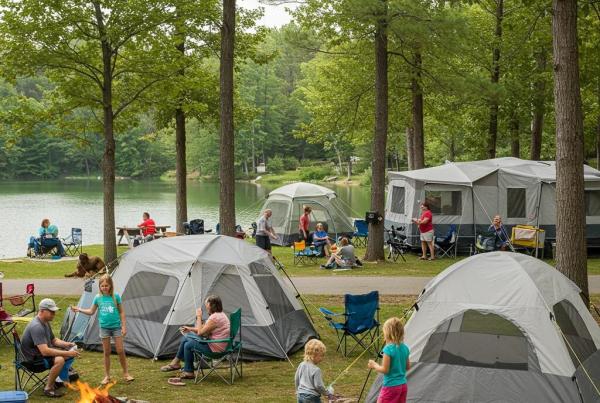
Arriving and departing a campground smoothly reduces stress and gives families more time to enjoy activities, which is the core aim of this guide on mastering campground check-in and check-out procedures. This article explains how campground check-in and check-out procedures work, why clear reservation and arrival steps speed access to sites and amenities, and how to avoid common delays that interrupt family time. You will learn practical pre-arrival preparation, a step-by-step arrival flow, quick setup tips for RVs and tents, and a concise departure checklist that follows Leave No Trace principles. The guidance is focused on general best practices while showing property-specific examples where relevant, including how Walnut Hills Family Campground by GatherGrounds implements express check-in and online reservations. Read on for concrete checklists, short numbered HowTo steps, comparison tables of reservation methods, and quick answers to common questions about campground timing, documents, and late arrival procedures.
How Can You Make Easy Online Reservations for Your Campground Stay?
Online reservations let campers secure sites efficiently by showing real-time availability, providing instant confirmation, and reducing on-site paperwork, which directly shortens check-in time. This mechanism works because reservation engines hold inventory, confirm payment, and transmit arrival details such as site number and pre-arrival instructions. The result is predictable arrival windows and fewer surprises at the registration desk. Below are concrete benefits and a compact comparison to help choose the best reservation method for speed and certainty.
What Are the Benefits of Booking Campgrounds Online?
Booking campgrounds online delivers immediate confirmation, clear site selection, and streamlined payment, which speeds arrival and reduces on-site delays. The online flow confirms site type, availability, and total cost at once, lowering the risk of overbooking and miscommunication. When you save or screenshot the confirmation, you can present it at check-in to use an express lane or direct-to-site arrival. These benefits combine to make online reservation the fastest path from travel to campsite setup.
This section lists the key benefits of online booking and explains why each helps speed check-in.
- Instant Confirmation: Confirms your site immediately so you arrive with certainty.
- Real-Time Availability: Lets you pick an open RV, tent, or cabin site without guesswork.
- Secure Payment and Records: Stores payment and reservation details for quick verification.
These benefits directly translate into faster, lower-stress arrivals for families and groups.
Intro to a simple comparison of reservation methods and their trade-offs follows to help choose the best option.
This table shows how different booking approaches trade speed for flexibility. Use the right method for your priorities; online booking is usually best for guaranteed, fast check-in.
How Do You Secure Your Campsite with Walnut Hills’ Online Reservation System?
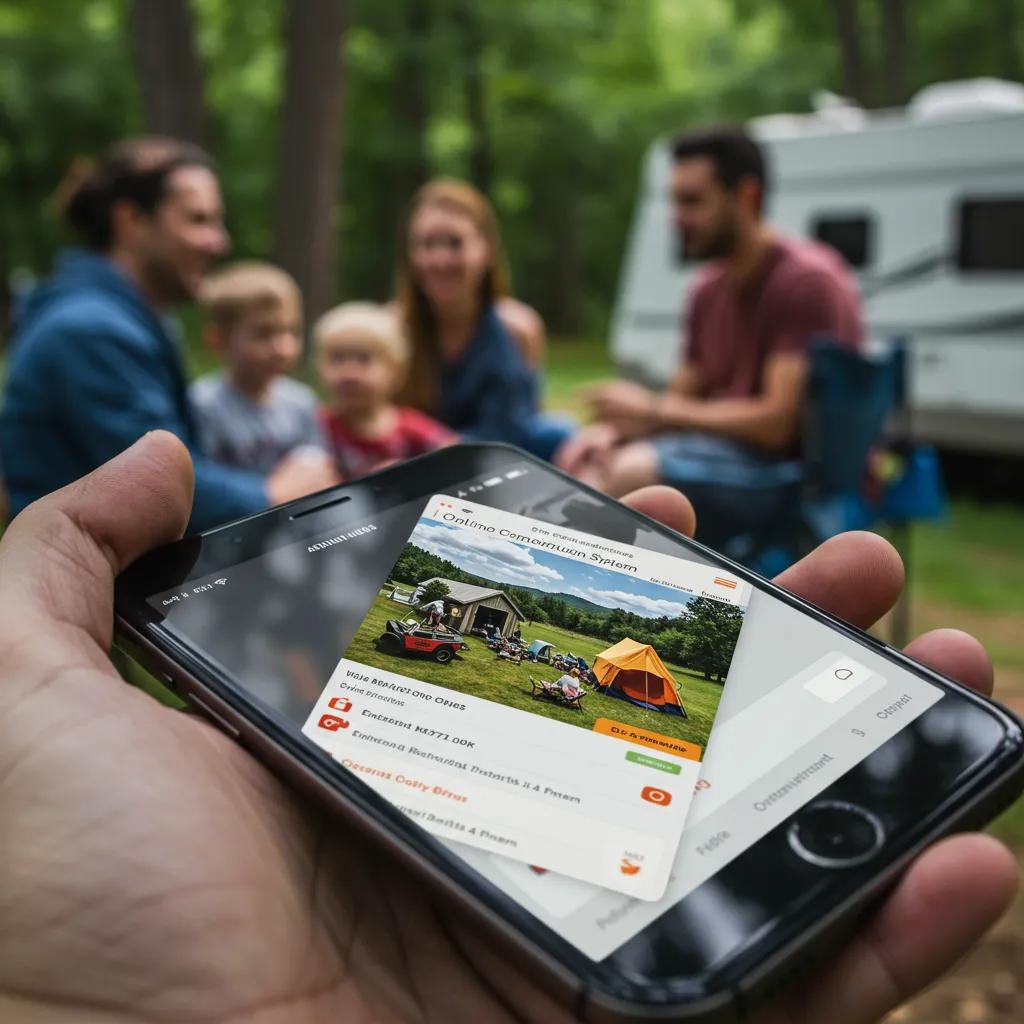
Securing a campsite online involves searching dates, selecting site type, and confirming payment, which results in an emailed or texted confirmation containing your site number and arrival notes. At Walnut Hills Family Campground by GatherGrounds, the online reservation process is designed to show site options for RVs, tents, and cabins and to issue immediate confirmation for faster entry. After booking, save the confirmation and review any pre-arrival messages that include maps, gate instructions, or express check-in options. Bringing a photo of your confirmation on arrival reduces time at the desk and supports the no-wait check-in experience noted by the property.
Follow this short numbered flow to complete an online reservation efficiently:
- Search dates: Enter arrival and departure dates and guest count.
- Choose site type: Select RV, tent, or cabin and pick a specific site if available.
- Confirm payment: Complete secure payment to receive instant confirmation.
- Save confirmation: Screenshot or download the confirmation and keep it accessible.
Use online booking for speed and clarity; the confirmation acts as a digital registration slip at arrival and reduces in-person processing.
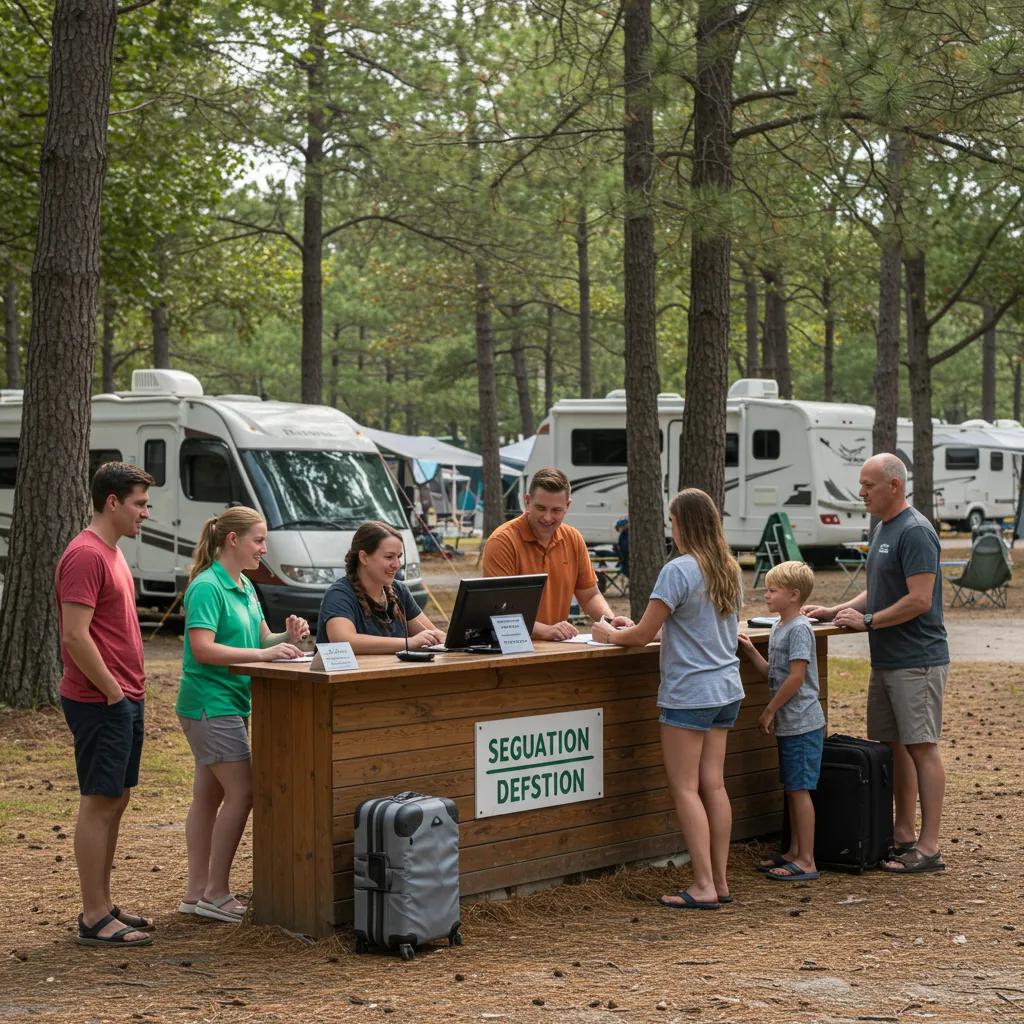
What Is the Step-by-Step Campground Check-In Process for a Hassle-Free Arrival?
A clear campground check-in process guides visitors from pre-arrival checks through site verification, and it works by aligning reservation data with on-site registration to minimize delays. Proper pre-arrival preparation and knowledge of arrival lanes or express options let families move directly to their site or use a fast-track lane, saving time and avoiding congestion. The outcome is a calmer first hour on site and faster access to amenities and activities. Below are actionable pre-arrival tasks and the standard on-site sequence to follow when arriving at a campground.
What Should You Prepare Before Arriving at the Campground?
Preparing before arrival means gathering ID and reservation proof, checking site-specific hookup needs, and reviewing the campground map so you can navigate directly to your spot. This prep reduces the time spent at the registration desk and allows immediate setup once you arrive. Pack essential setup tools such as electrical cords, water hoses, leveling blocks, and basic campsite cleaning supplies to avoid delays after arrival. These simple steps help families move from travel mode into recreation mode more quickly.
Key pre-arrival items to have ready are listed here for quick reference.
- Reservation confirmation: Have screenshot or printed copy for verification.
- Valid photo ID: Required for registration and identification.
- Site setup gear: Power cord, water hose, sewer adapters, and leveling blocks.
- Map and directions: Review campground map to locate your site faster.
Preparing those items minimizes processing time and ensures a smoother transfer from road to campsite.
How Does Walnut Hills’ No-Wait Express Check-In Work?
Walnut Hills Family Campground’s no-wait express check-in is an express flow that lets guests proceed directly to assigned sites or use a designated express lane with minimal paperwork. The mechanism relies on pre-arrival confirmation and a streamlined verification step at arrival, so visitors presenting confirmation and ID can bypass extended registration queues. Practically, guests with confirmed reservations follow posted express arrival signs, confirm their site number if asked, and begin setup while any remaining paperwork is handled electronically or next-day at the office. For specific arrival instructions and office arrival policies at Walnut Hills, consult the campground overview or arrival information on the property’s site.
Use this numbered checklist to use an express check-in smoothly:
- Have confirmation ready: Show the email or text as proof of reservation.
- Follow express signs: Drive to the express lane or direct-to-site route.
- Confirm site and vehicle details: Verify site number and any vehicle info.
- Begin setup: Hook up utilities and report any issues to the office.
This flow reduces arrival queues and gets families into activities faster while preserving necessary registration steps.
What Are the Procedures for Late or After-Hours Campground Check-In?
Late or after-hours arrivals typically rely on pre-arrival instructions that provide gate codes or direct-to-site guidance, enabling guests to find their assigned site without onsite staff. The mechanism uses automated messages sent before arrival that explain where to park, how to access the gate, and where to find posted registration packets or envelopes at the office. After arriving, guests complete registration the next morning at the office or follow the property’s specified follow-up method. Keep a copy of your reservation confirmation and any emailed gate codes handy to follow these steps smoothly.
Follow these concise steps for after-hours arrival:
- Use pre-arrival email or message for gate info.
- Park at or proceed to your assigned site as instructed.
- Complete registration at the office the following day.
- Report issues to staff during office hours.
These procedures keep late arrivals safe and documented while minimizing disturbance to the campground.
How Do You Settle Into Your Campsite After Check-In?
Settling into a campsite efficiently means locating your site, verifying hookups, setting up safely, and orienting family members to nearby amenities so everyone can start enjoying activities quickly. The method is to confirm site orientation from the map, test utility hookups before full setup, and assign simple roles for fast tent erection or RV leveling. The benefit is less rework and a safer setup that lets children and adults move into recreation sooner. Below are practical setup tips and a checklist of immediate-access amenities to check on arrival.
What Are the Best Tips for Finding and Setting Up Your Campsite?
Efficient campsite setup begins with confirming the site number, orienting to landmarks, and testing power and water before committing to full setup, which avoids tedious reconfiguration. For RVs, arrive with leveling blocks and wheel chocks ready and test electrical connections with the vehicle off to prevent sudden power issues. For tents, choose a flat area, check for roots or rocks, and stake the tent before unpacking too much gear. Assign simple tasks such as a parent handling hookups while another sets up shade and play boundaries for kids to speed the process.
Quick checklist for speedy setup and safety:
- Confirm site number and orientation on the campground map.
- Test electric and water hookups before full setup.
- Level the RV and secure wheel chocks for safety.
- Set tent footprint and stake before unpacking sleeping gear.
Following these steps reduces setup time and increases on-site comfort and safety.
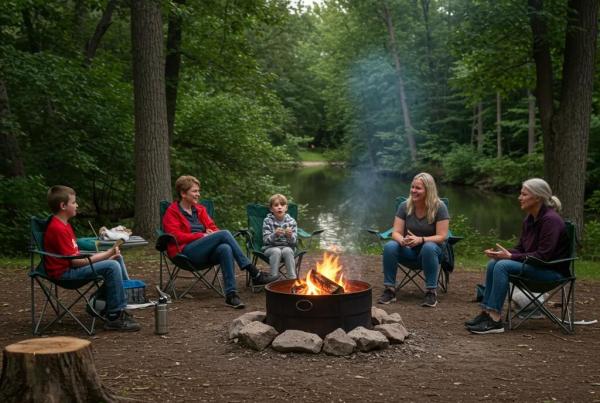
Which Amenities Are Immediately Available Upon Arrival?
Immediate amenities commonly include restrooms and showers, a camp store for last-minute supplies, and access to water-based attractions or lifeguarded areas where available, which support the family experience right away. Knowing where these facilities are on the campground map helps families plan a short first walk or quick errand after setup. Some properties also provide dog parks or recreational equipment that can be used once registration is complete and any posted rules are followed. Check posted safety and use rules for water attractions and play areas to ensure compliance and a smooth start to your stay.
Common immediately available facilities include:
- Restrooms and showers for quick cleanup after travel.
- Camp store for food, ice, and supplies.
- Water park, lake access, or canoe livery where offered.
- Dog park and play areas subject to posted rules.
Identifying these at arrival helps families prioritize activities and supplies without delay.
What Are the Essential Campground Check-Out Procedures for a Smooth Departure?
Check-out procedures clarify disconnecting utilities, cleaning the site, and completing any final inspections so the next guests receive a ready campsite; they work by following a short departure checklist and property rules. Properly disconnecting hookups and disposing of waste prevents damage and additional fees, and it honors Leave No Trace principles for environmental stewardship. For property-specific checkout times and site expectations, Walnut Hills Family Campground posts these details on its campground overview and policies page; campers should consult those resources before departure. The checklist below gives a rapid, ordered set of actions to complete on departure day.
What Is the Complete Departure Day Checklist for Campers?
A complete departure checklist orders tasks to finish packing, disconnect utilities, and clean thoroughly so you can vacate by the campground’s posted checkout expectation and leave the site ready for the next visitor. Start packing 1–2 hours before checkout, stow loose items, and test that sewer and water lines are drained before stowing. Perform a final sweep for personal items and perform a quick site inspection to confirm no litter or gear remains. Notify the office of any maintenance issues discovered during your stay to close out the reservation responsibly.
Numbered departure checklist to follow:
- Begin packing early: Allocate 60–120 minutes before checkout.
- Disconnect and stow hookups: Drain hoses and secure cables.
- Gather trash and recyclables: Use campground disposal points.
- Final sweep and report issues: Inspect the site and inform staff.
Following this ordered plan prevents rushes and helps preserve campground condition.
This quick-reference table simplifies the final steps for departing campers and reduces the chance of leaving connections unsafe or messy.
How Should You Clean and Prepare Your Campsite Before Leaving?
Cleaning the campsite means removing all food and trash, extinguishing and cold-checking fire pits, and stowing gear to prevent wildlife attraction and environmental harm. Use biodegradable soap away from water sources, pack out all litter, and sweep tent areas to remove small debris and food particles. Report any damage or maintenance needs to the office so staff can address issues before the next guest arrives. These actions support Leave No Trace principles and keep campgrounds well-maintained for everyone.
A short, practical cleaning sequence helps teams divide tasks and finish efficiently:
- Remove and bag all trash; check for small items.
- Thoroughly extinguish and cool any fire pits or grills.
- Clean cooking surfaces and pack cooking gear.
- Stow camping gear in vehicles and leave the site tidy.
Completing these steps reduces environmental impact and minimizes post-stay disputes.
Can You Use Campground Amenities After Check-Out?
Policies on using amenities after check-out vary by property, with some offering limited day-use access and others restricting use to registered guests only; checking the campground rules clarifies expectations. The common approach is to vacate the site by checkout time and then inquire at the office about any permitted continuing access to pools, water parks, or day-use facilities. If allowed, follow staff directions about wristbands, fees, and supervised areas to avoid confusion. Planning a short post-checkout activity often requires advance confirmation with campground staff or reviewing posted policies.
Practical etiquette for post-checkout amenity use includes:
- Ask staff about day-use permissions before leaving the site.
- Respect posted hours and safety rules at pools or parks.
- Keep personal belongings in vehicles if returning after checkout.
- Be considerate of arriving guests and campground flow.
Following these norms maintains goodwill with staff and other campers.
What Are the Most Common Questions About Campground Check-In, Check-Out, and Reservations?
Campers frequently ask about times, required documents, changes or cancellations, and policies for late arrivals or early departures; concise answers reduce confusion and speed decision-making. Providing short, direct responses helps capture featured snippets and gives families a quick reference for planning. Below are targeted answers to the most common operational questions that determine whether an arrival or departure goes smoothly.
What Time Is Check-In and Check-Out at Walnut Hills Family Campground?
Check-in and check-out times are posted on the campground overview and policies for Walnut Hills Family Campground by GatherGrounds, and those posted times define when sites should be occupied and vacated. Express check-in can shorten perceived wait at arrival when you have confirmation and follow arrival instructions. If you expect to arrive early or late, review pre-arrival messages and contact the office through the campground’s official channels for guidance. Confirming times in advance prevents scheduling surprises and helps families plan departure logistics.
What Documents and Information Do You Need for Check-In?
You typically need a valid photo ID and your reservation confirmation to complete check-in, which verifies identity and reservation details for the campground. Some campgrounds may ask for payment verification or vehicle information, so bring the card used for reservation when possible. Saving the confirmation on your phone and carrying a backup printed copy speeds verification and supports express check-in options. Having these documents ready avoids delays and clarifies responsibilities at registration.
How Do You Handle Reservation Changes or Cancellations?
Manage reservation changes or cancellations through the campground’s online reservation system when possible, as that provides the quickest confirmation of modifications and any applicable refund or fee details. Log in to your booking account, select the reservation, and follow the prompts to change dates or cancel; if online modification is not possible, contact the campground office via the official contact channels listed on the property overview. Always check the specific cancellation policy tied to your booking to understand timelines and potential charges. Keeping documentation of any confirmation helps resolve disputes quickly.
What Are the Policies for Late Arrivals and Early Departures?
Late arrival policies commonly instruct guests to use pre-arrival gate codes or to park at assigned sites and complete registration the next morning, which preserves security while accommodating travel delays. Early departure policies typically require notifying the office to confirm any refund eligibility or outstanding charges, so contacting staff in advance is recommended. Both cases benefit from proactive communication through the reservation message system or official office channels. Notifying staff preserves transparency and often avoids misunderstandings about site availability and billing.
Frequently Asked Questions
What Should You Do If You Arrive Late to the Campground?
If you arrive late to the campground, it’s essential to follow the pre-arrival instructions provided in your confirmation email. These typically include gate codes or directions to your assigned site. Most campgrounds allow late arrivals to proceed directly to their site, where you can complete registration the following morning. Always keep your reservation confirmation handy, as it may be required for access and verification. This process ensures a smooth entry while maintaining security for all guests.
Are There Any Additional Fees for Using Campground Amenities After Check-Out?
Policies regarding the use of campground amenities after check-out can vary significantly between properties. Some campgrounds may allow limited access to amenities like pools or recreational areas for a fee, while others may restrict access to registered guests only. It’s advisable to check with the campground office before your departure to clarify any potential fees or rules regarding post-checkout use of facilities. This helps avoid misunderstandings and ensures a pleasant experience for all campers.
How Can You Ensure a Smooth Check-Out Process?
To ensure a smooth check-out process, start by preparing a checklist of tasks to complete before leaving. This includes packing up your gear, disconnecting utilities, and cleaning the site thoroughly. Aim to begin this process 1-2 hours before the official check-out time to avoid any last-minute rush. Additionally, report any maintenance issues to the campground staff to help maintain the site for future guests. Following these steps will help you leave the campground in good standing and enjoy a hassle-free departure.
What Are the Best Practices for Campground Safety During Your Stay?
Safety at the campground involves several best practices, including being aware of your surroundings, following posted rules, and keeping your campsite tidy. Always supervise children near water or play areas and ensure that campfires are attended and properly extinguished. Familiarize yourself with emergency procedures and the location of first aid kits. Additionally, securing food and trash can prevent wildlife encounters. By adhering to these safety measures, you can enjoy a worry-free camping experience.
What Should You Do If You Forget Your Reservation Confirmation?
If you forget your reservation confirmation, don’t panic. Most campgrounds can verify your booking using your name and the ID you provided during the reservation process. It’s helpful to have a valid photo ID and any payment method used for the reservation on hand. If you have access to your email or booking account on your phone, you can quickly retrieve the confirmation. Always try to keep a digital or printed copy accessible to streamline the check-in process.
Can You Change Your Campsite After Check-In?
Changing your campsite after check-in is generally possible but depends on the campground’s policies and availability. If you wish to switch sites, it’s best to contact the campground office as soon as possible to discuss your options. They can inform you about available sites and any potential fees associated with the change. Always check the campground’s specific rules regarding site changes to ensure compliance and avoid any misunderstandings during your stay.
Conclusion
Mastering campground check-in and check-out processes enhances family experiences by reducing stress and maximizing enjoyment. By following clear procedures and utilizing online reservations, campers can ensure a smooth arrival and departure, allowing for more time spent on activities. Embrace these best practices to create memorable camping adventures with ease. Discover more tips and resources to elevate your camping experience today.